1. Ensure the Printer Is Properly Connected to Your PC
The first thing to verify is your printer’s connection with your PC.
If you use a wired printer, make sure the cable is properly plugged into both your computer and your printer. Ensure there’s no damage to the cable.
If you use a wireless printer, you must connect the printer to a working Wi-Fi network.. It should also have an IP address assigned to it.
To confirm your PC properly recognizes your printer, do the following:
- Input Control Panel in the Start menu search bar and select the Best match.
- In Control Panel, from under the Hardware and Sound options, click View devices and printers.
- You can now see the installed devices on your PC. Look for your printer here and select it.
- At the bottom bar, your printer’s Status field should say Ready. This means your PC recognizes the printer and can communicate with it.
2. Reboot the Printer
Rebooting a device helps fix many temporary issues with it, and this applies to printers as well. When your PC says that your printer is in an error state, it’s worth turning off your printer and then turning it back on.
On most printers, you can do this by pressing the Power button on the printer itself. Then, wait for about half a minute and press the Power button again.
Your PC should no longer display the error message.
3. Verify the Paper and Cartridge Ink Levels
A possible reason your PC says your printer has an issue is that your printer doesn’t have sufficient ink levels and/or lacks enough papers in the paper tray.
Technically, that’s an issue with your printer and not your PC.
First, load the printer’s paper tray with some printing papers. Then, turn on the printer and check the cartridge ink levels. If these levels are on the low end, replace the cartridges.
4. Reinstall the Printer Drivers
Your printer’s drivers define how it connects to your computer. If these drivers are outdated or they’re faulty, reinstall them and see if that fixes your problem.
Installing, removing, and reinstalling drivers in Windows 10 is fairly easy, and here’s how you do that:
- Disconnect the printer from your PC.
- Launch Control Panel on your computer.
- Select the View devices and printers option beneath Hardware and Sound.
- Find your printer in the devices list.
- Right-click your printer and select Remove device.
- A prompt appears asking if you really want to remove the selected printer. Select Yes in the prompt to continue.
- Connect the printer to your PC and your PC should automatically install the drivers.
5. Automate the Print Spooler Service
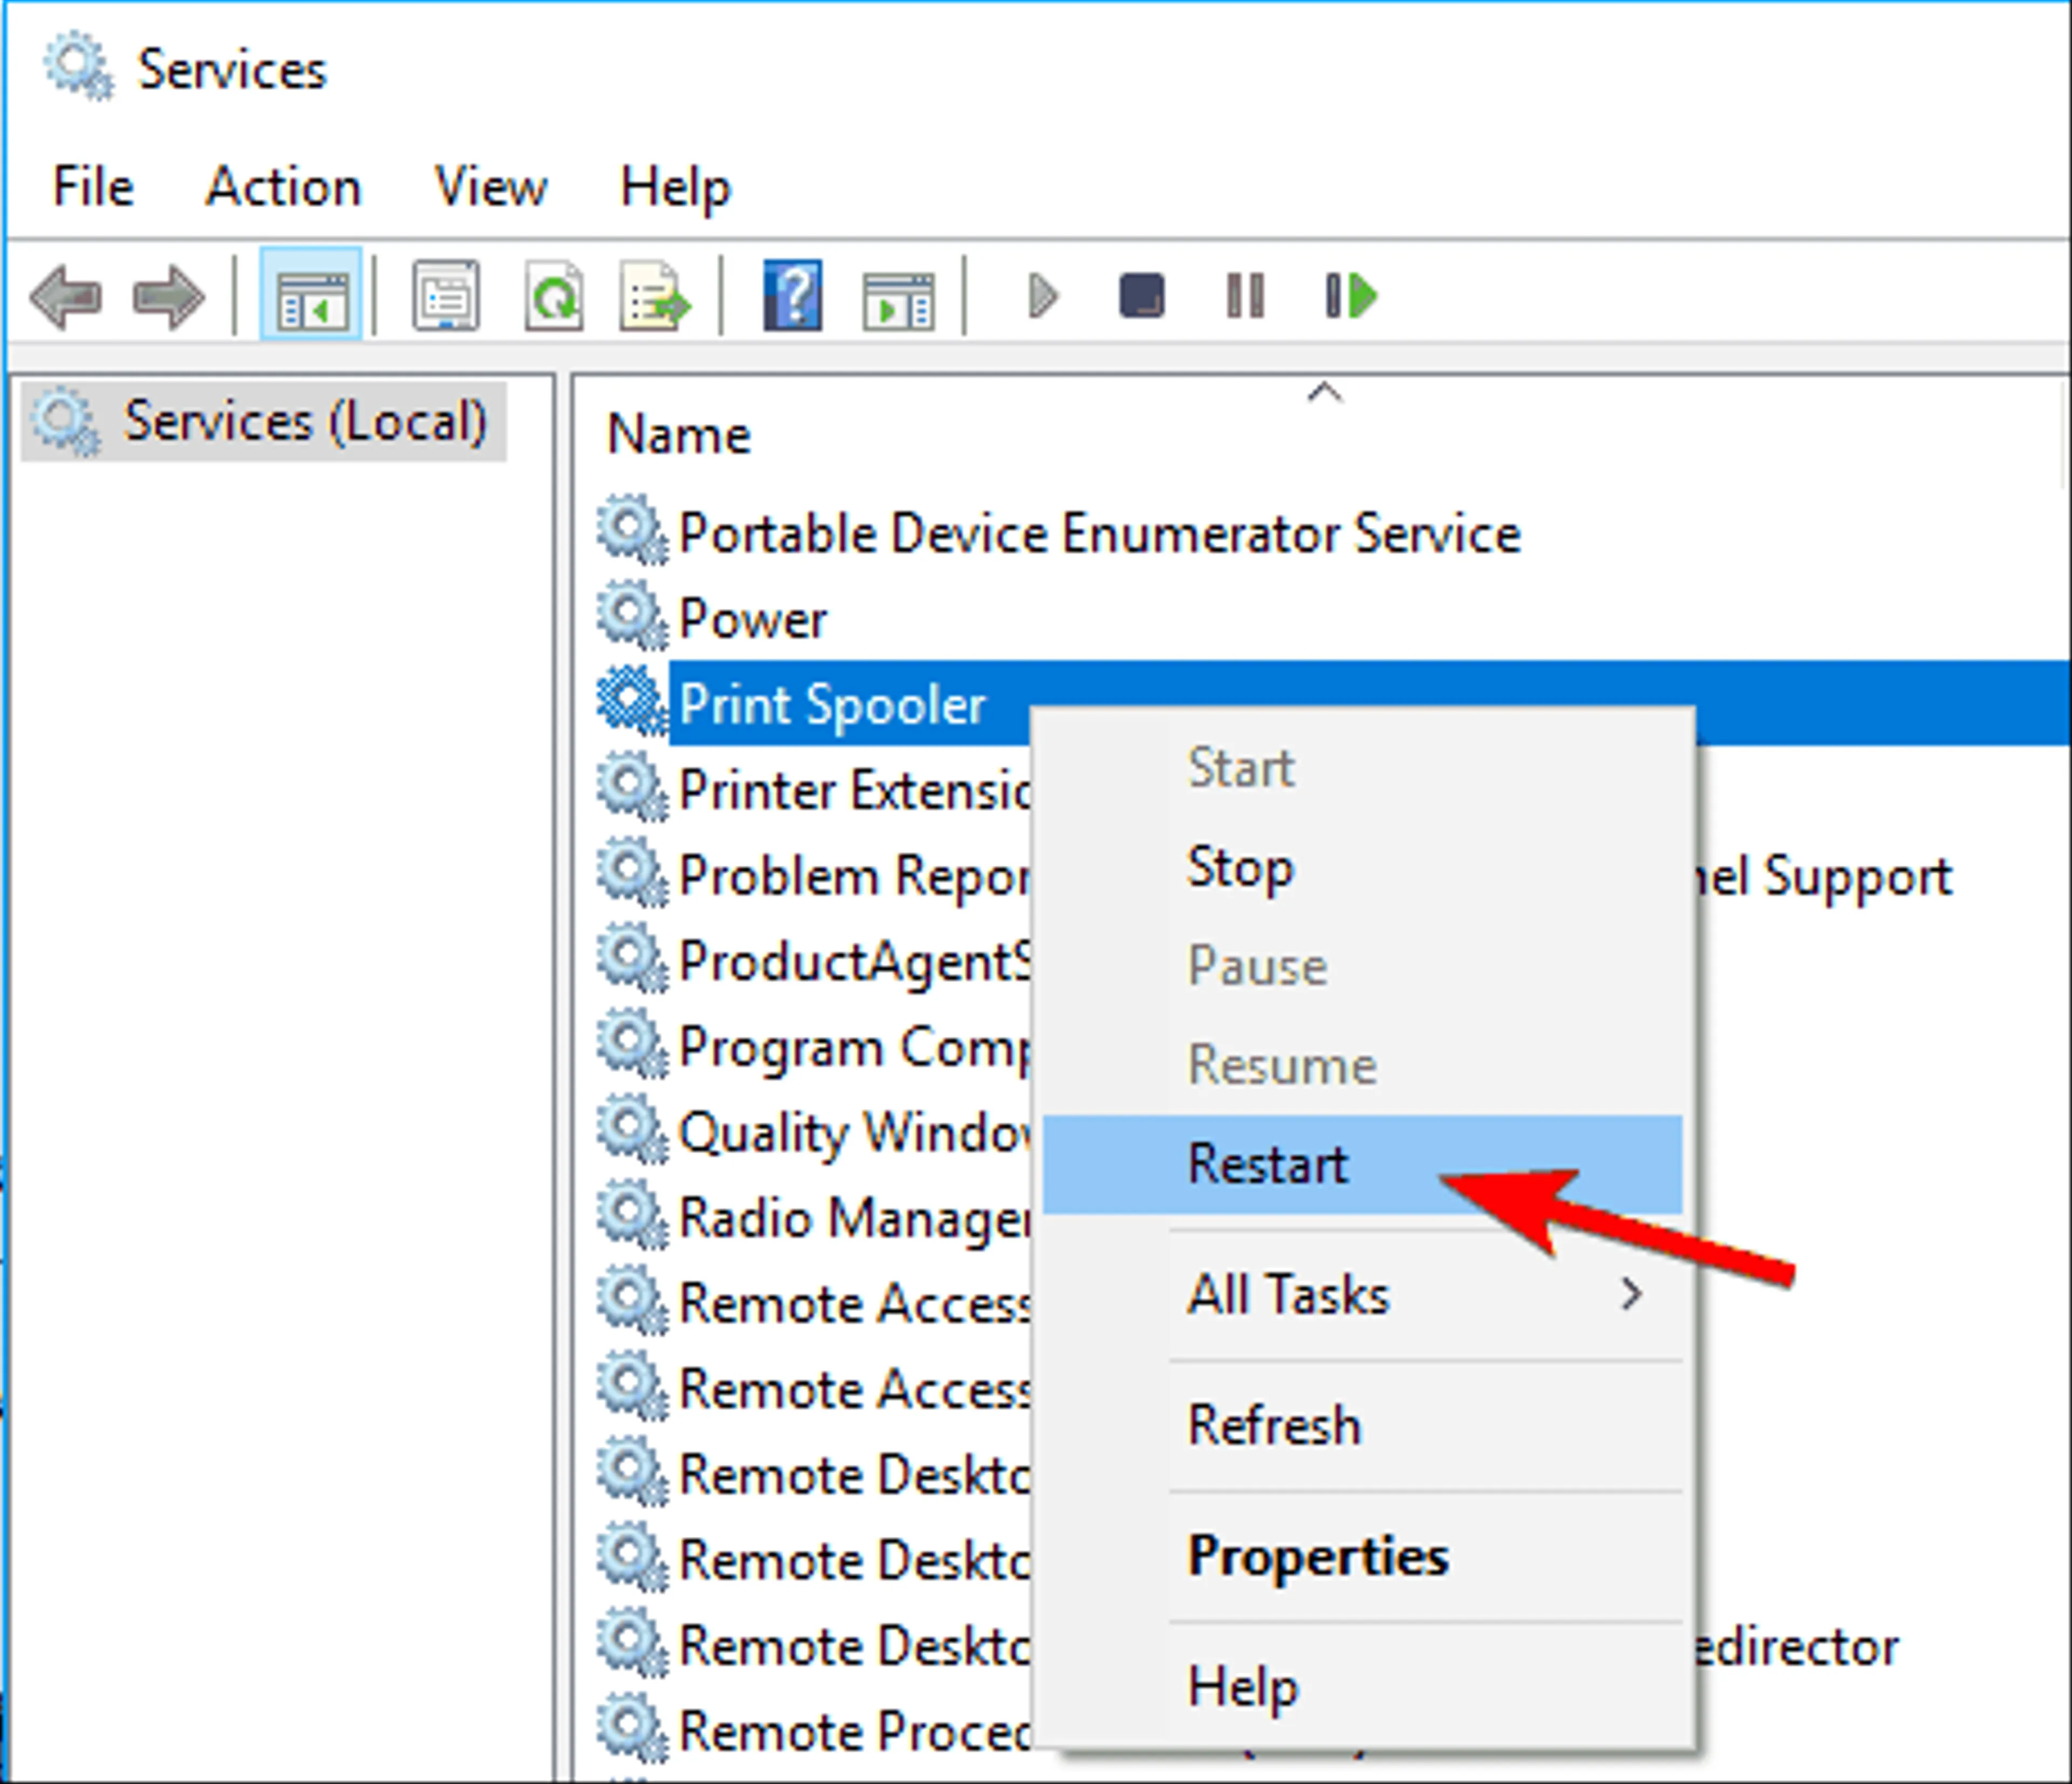
It’s worth setting the printer spooler service in automatic mode to see if that fixes the “printer in error state” issue on your PC.
- Press Windows Key + R to open the Run dialog, type services.msc, and press Enter.
- Find the Print Spooler service in the list, right-click it, and select Properties.
- Click the dropdown menu next to Startup type and choose Automatic.
- Click Apply followed by OK at the bottom.
- Reboot your PC.
6. Update Windows 10
It goes without saying that you should always keep your Windows 10 PC up to date. Running an older version of the operating system can cause many issues, including the “printer in error state” message.
It’s easy to update Windows 10, and you can do this as follows:
- Press Windows Key + I to open the Settings app.
- Click Update & Security on the Settings screen.
- Select Windows Update from the sidebar on the left.
- Click Check for updates on the right.
- Install the available updates.
Resolve the “Printer in Error State” Error in Windows 10
Your printer is incapable of printing anything as long as it’s in an error state. Luckily, using the methods outlined above, you can get your printer out of this state and start printing your documents with it again.


